Puppet Animation
- Animation
- Stop Motion
- Puppet
Pale skin, sunken eyes, and exaggerated proportions like long arms, legs and large head evokes a spooky and eerie mood. Yet, as they take the action by following the storyline, each character reveals a hidden inner beauty like kindness and courage. Those animations Tim Burton created filled my childhood with wonder and fantasy. When I got an animation assignment with a hand-made puppet by stop motion in a pre-college art program, I immediately thought of Tim Burton's work, and I also wanted to make a piece with an interesting character and motions like he did.
Step 1: Character Design
I wanted to design one of the characters that is related to me, so I chose a mouse. The mouse is a meaningful symbol to me because in many East Asian cultures like China and Korea, there is a traditional zodiac system that each year is represented by one of the twelve animals. The birth year determines a specific zodiac animal, which can be a fun cultural identity. Since I was born in the year of the Rat, or mouse, I used the mouse to design my third character.
But unlike Mickey Mouse or Jerry from the cartoon, Tom and Jerry, who are often depicted as quick and intelligent, I wanted my mouse to be a little bit clumsy and careless, just like me who is known for losing my belongings from time to time.
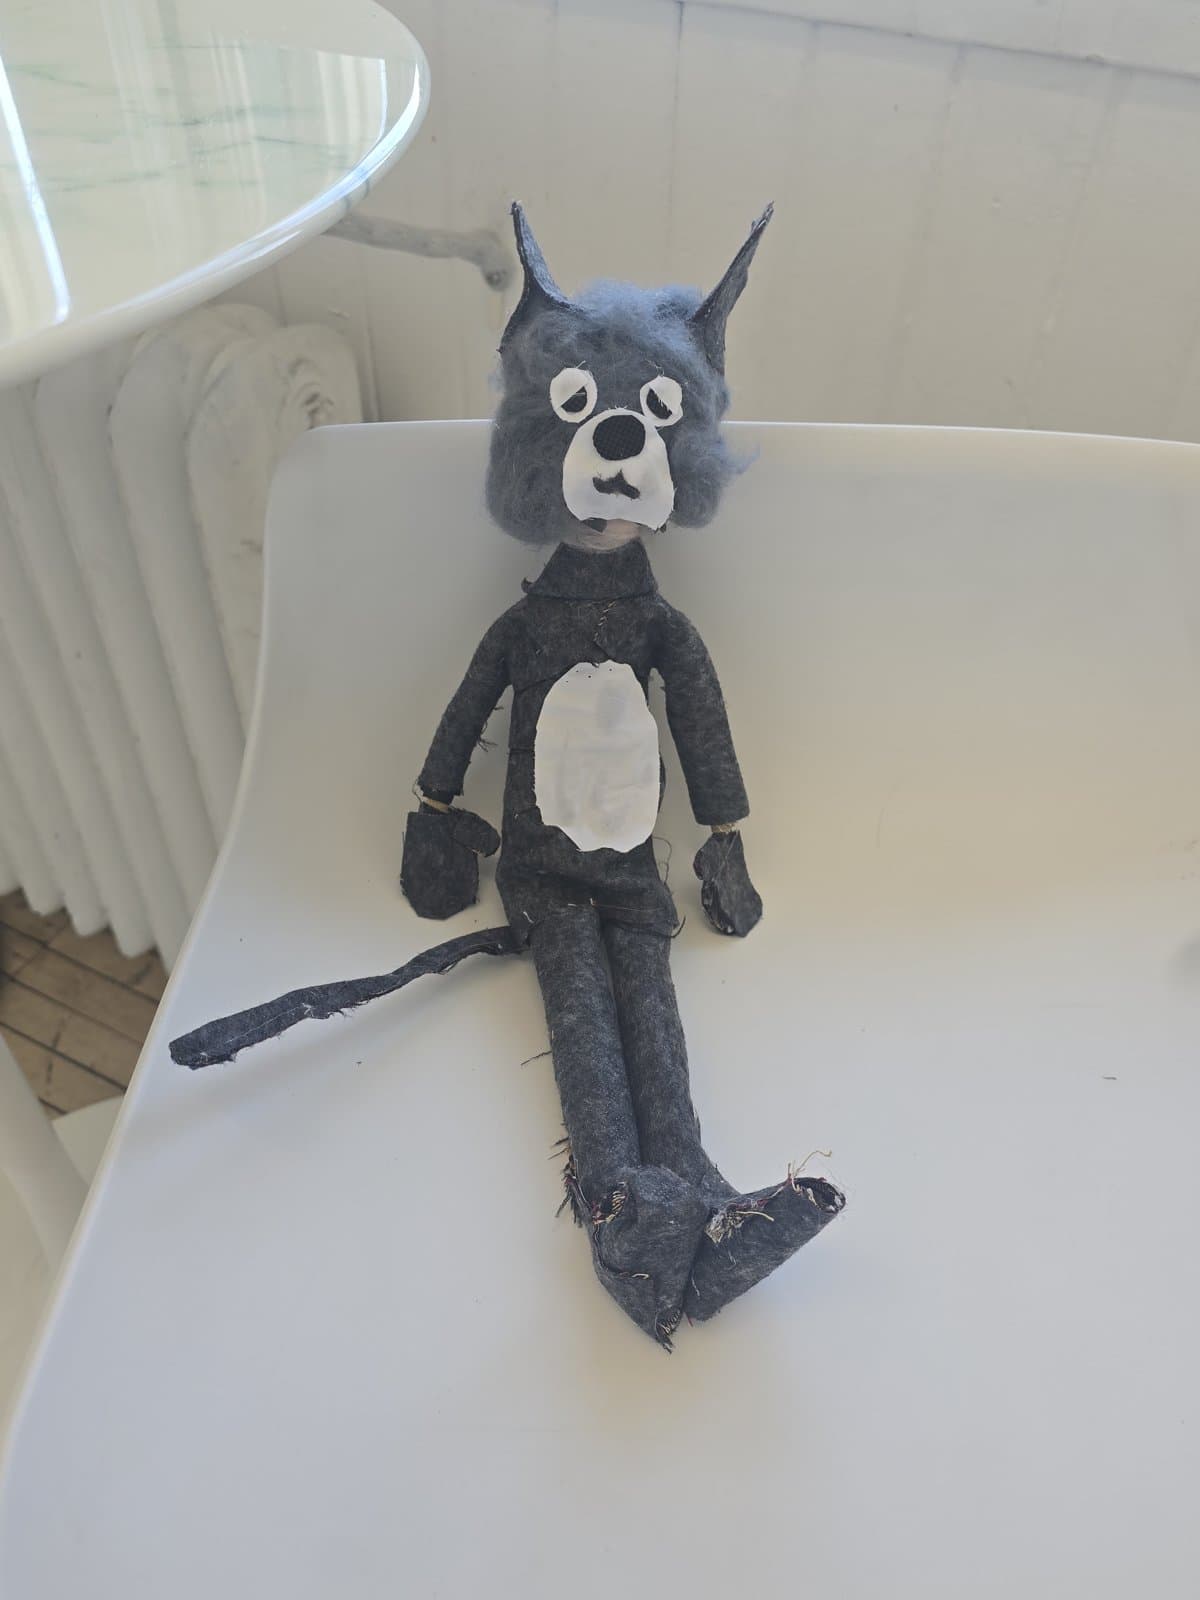
In addition, the mouse I designed is not just the puppet. With a twist, my puppet puts on a mouse costume as if pretending to be a mascot. To indicate the mascot costume's borrowed mouse figure, I drew a zipper on the back, and planned to make the head part wobbly. My intention was that this figure hides its own identity and pretends to act like a mouse, in order to satirize the human nature of disguise in a funny way. In fact, my inspiration and references was the Easter Bunny from Animal Crossing, who also seems to have a mysterious identity within his costume.
Step 2: Constructing the Puppet
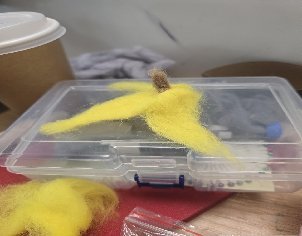
The animation class provided the materials: A body of a puppet attached with flexible wires and three different materials like wool, animation clay and fabric. I chose wool and needle felting as my main materials since I wanted to make my mouse have a soft heart through the felt fur on the costume, and to challenge myself with new materials I have never used.
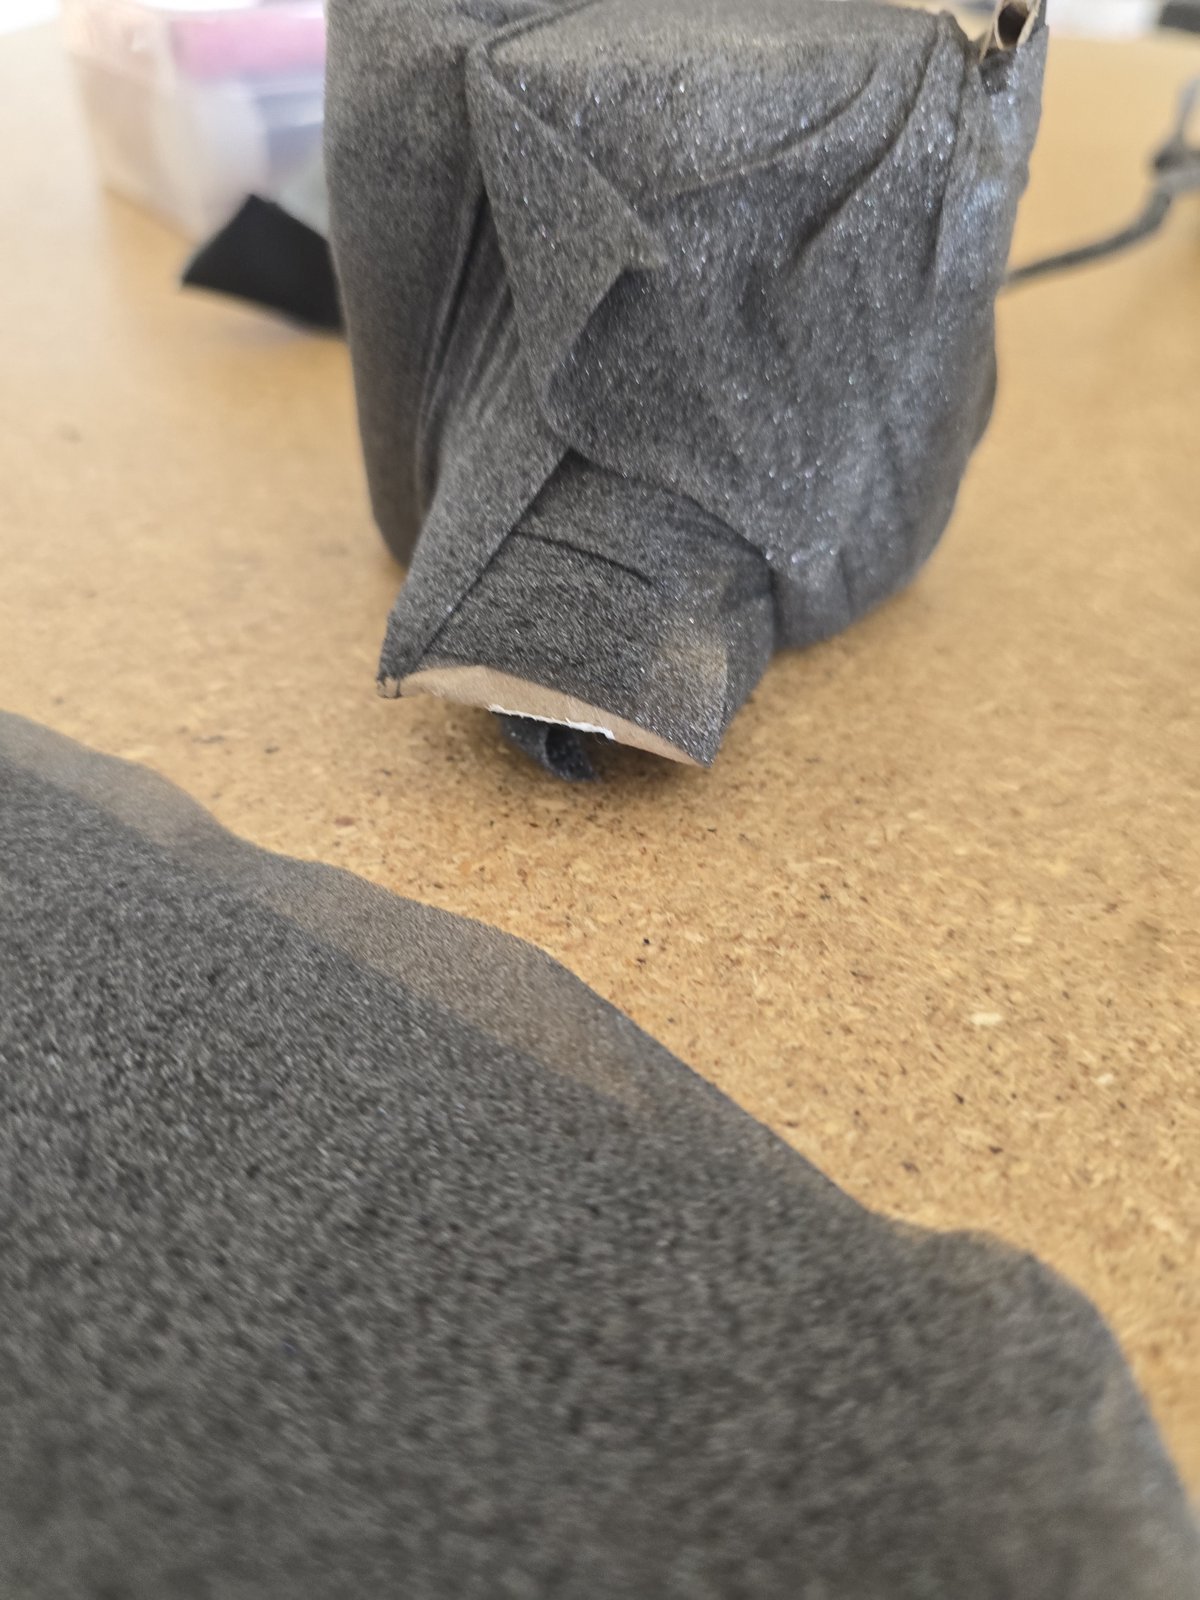
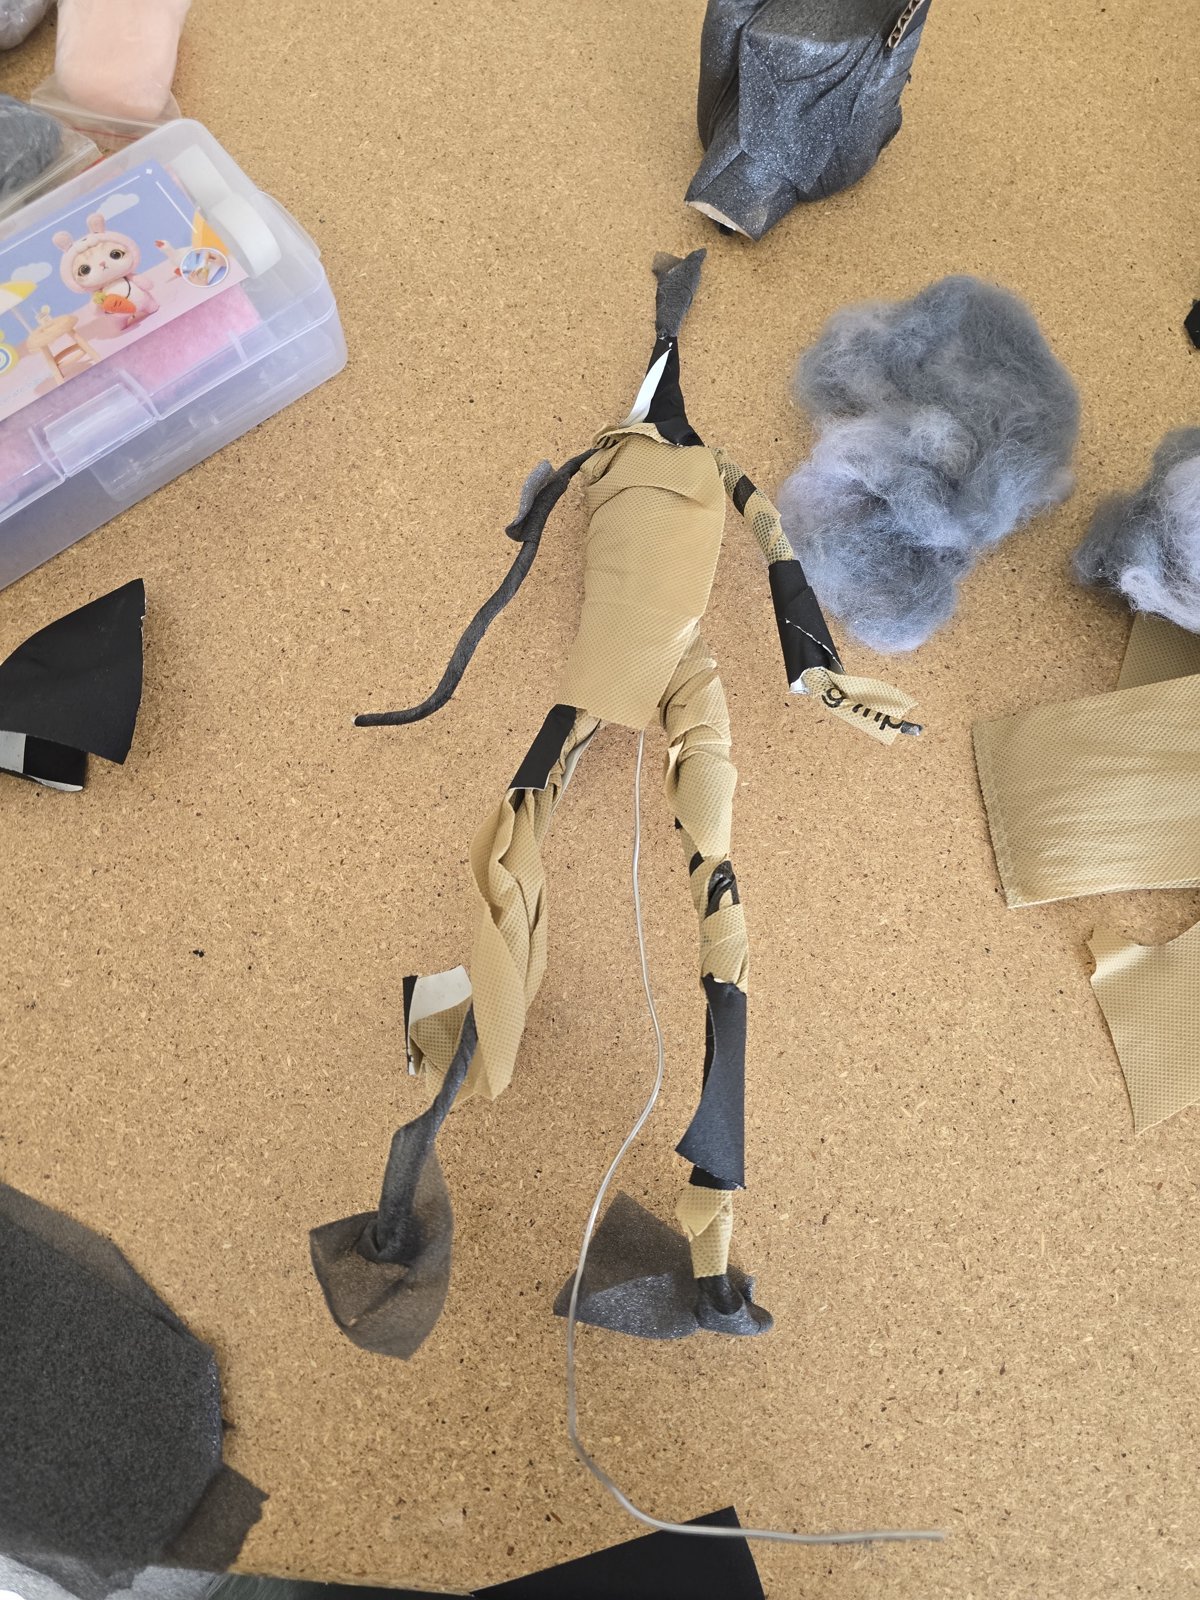
After making the structure, I began felting the wool to attach to the head and body. I would like to make the whole puppet out of wool and use fabric for just the zipper part only. However, when I attached the wool to the skeleton head with a needle, the material didn't cooperate and was not stable. My lack of experience with needling exhausted my arm quickly and the original plan failed after struggling for 3 hours with material experimentation.
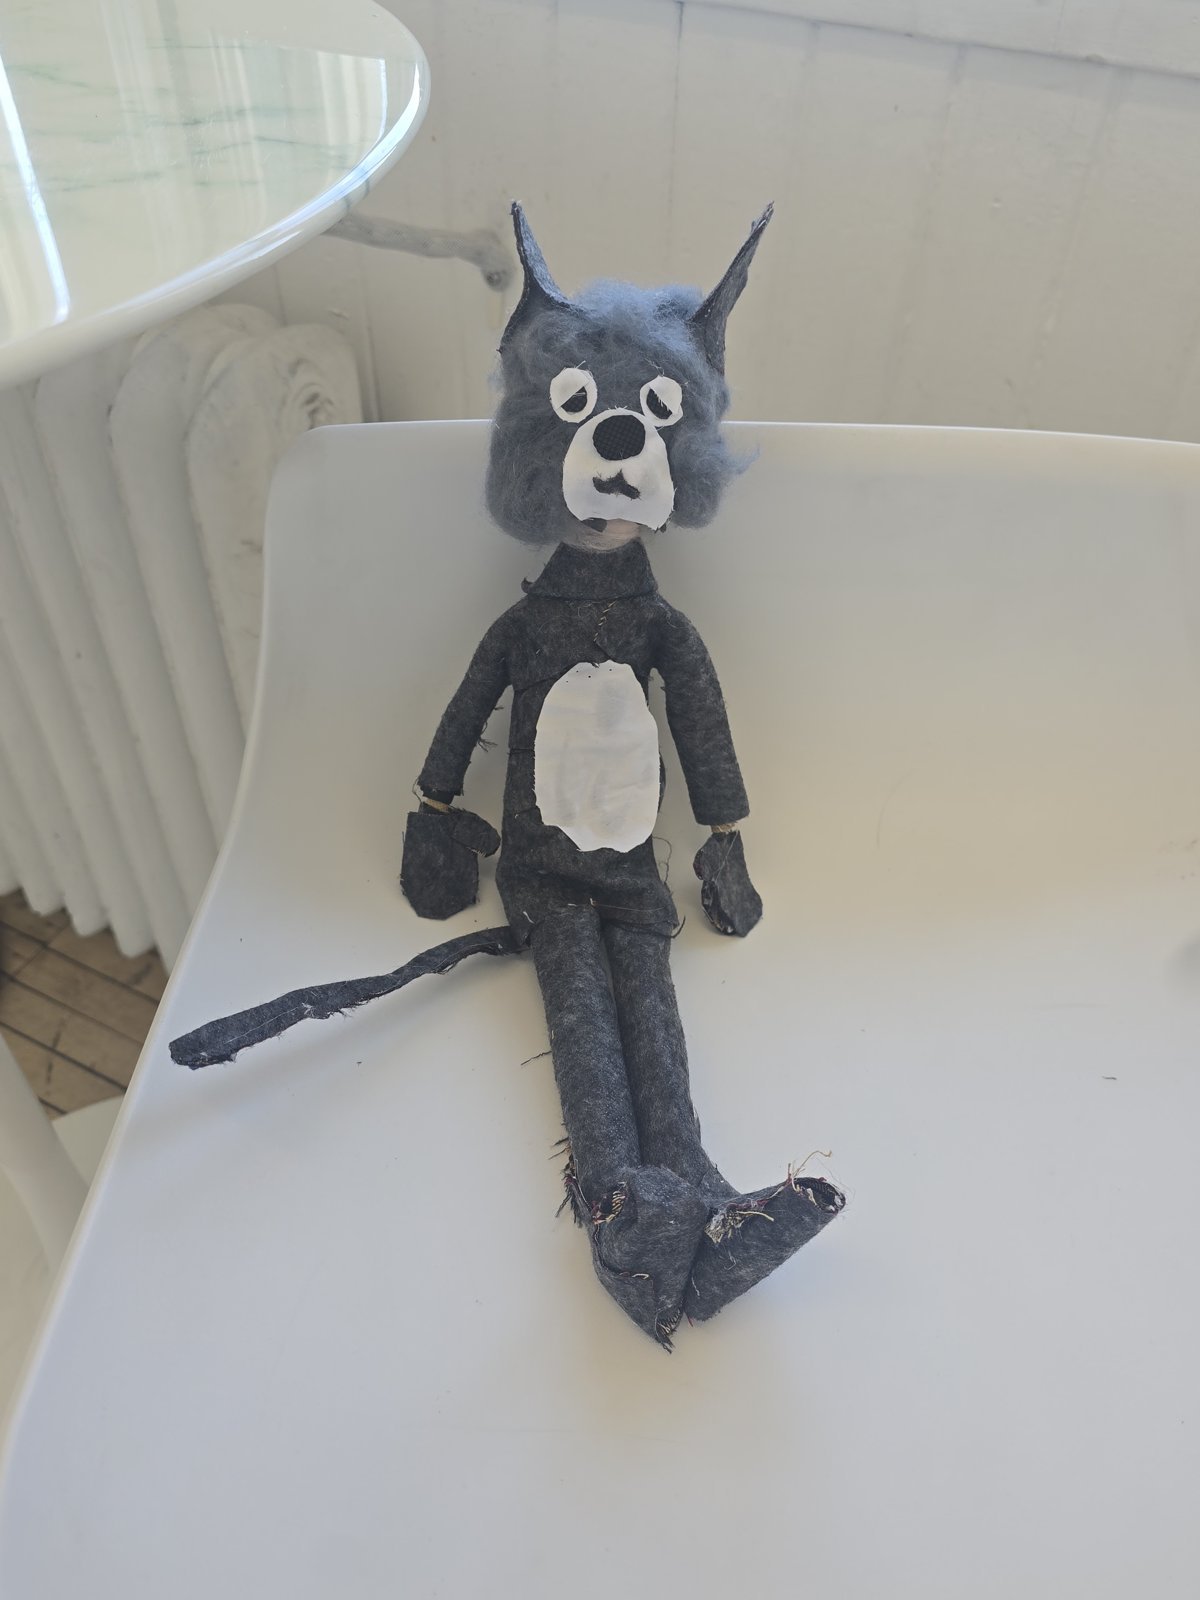
Since the due date of the puppet was the next morning, I switched gears by employing grey carpet fabric, threads and needles, and hot glue. When my puppet was completed, I found out that the different texture of the head part and the body helped deliver the costume-like the character of the puppet. Ironically, I felt last night's curse transformed into a blessing: failure creates a better outcome. Covering the wire with fabric also turned into a nice tail for the mouse.
Step 3: Planning the Action
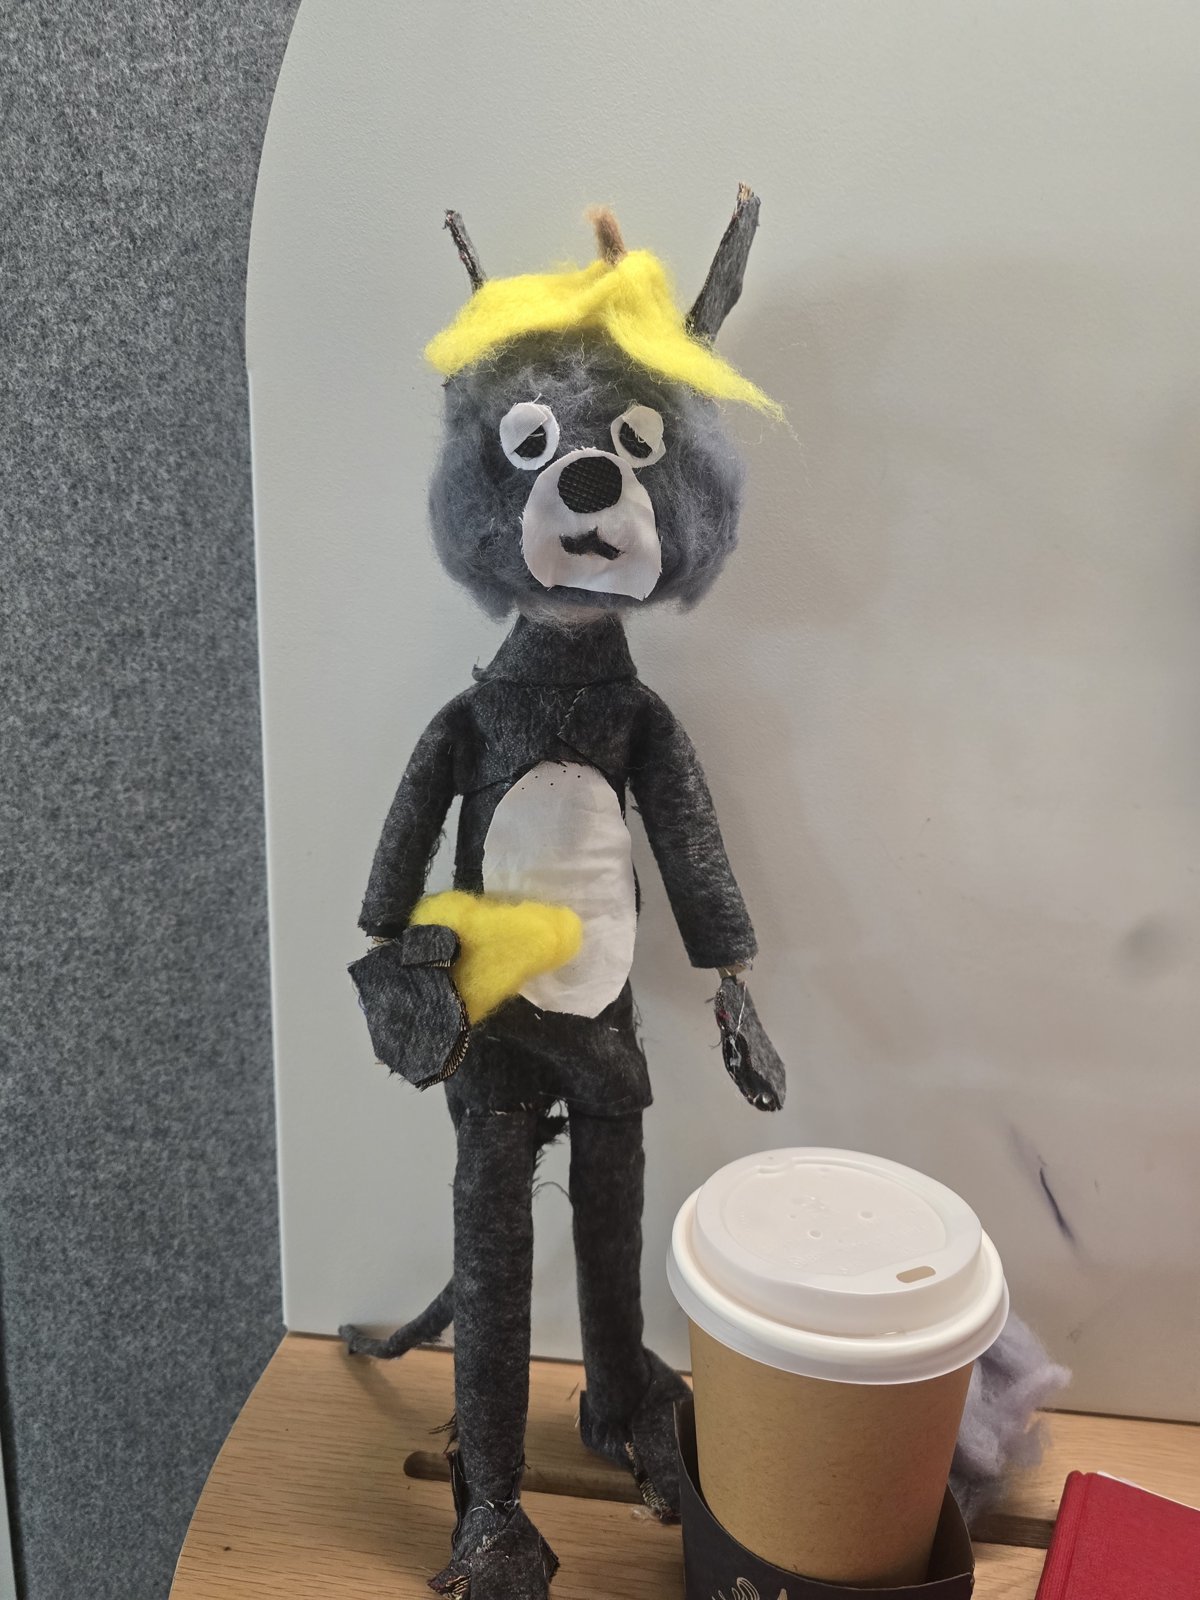
At the beginning of this assignment, I majorly referenced Tim Burton's stop motion technique in his animation. His characters are delicately moved by the numerous camera shots that create the vitality and dynamics. While trying to move my puppet, my frame of reference became extended to the black and white film era, 1914 to 1936. With the exaggerated action of Charlie Chaplin's movies, I was able to plan out my puppet's movements like slapstick comedy: my mouse walked on screen with his cheese, slipped via banana peel, and then frantically looked around for his missing cheese.
Step 4: Ready… Action!
The storyline was simple, yet I had to take almost 370 shots and edit the motions in order to flow smoothly; I adjusted the puppet for each movement, take a picture of it with the camera, and adjust the puppet for the next action, and repeat.
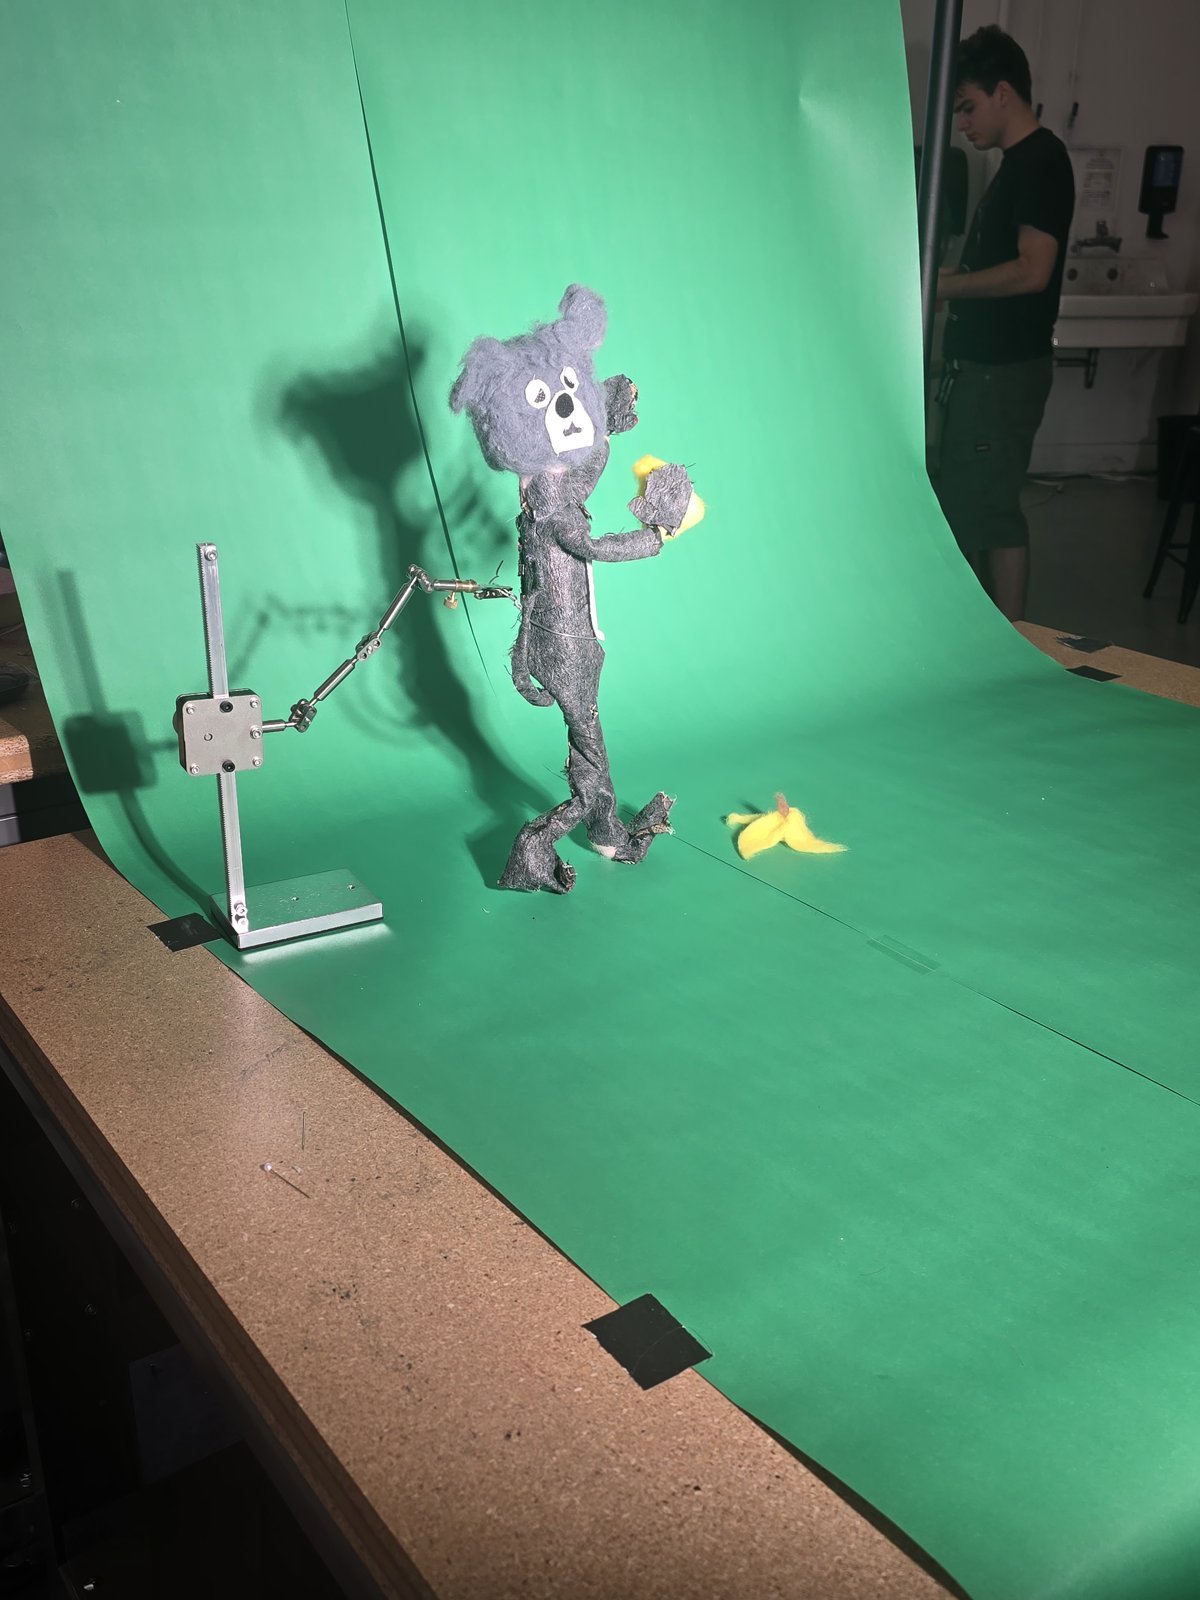
The most difficult part was to apply the principle of animation which calculates the character's action with timing and speed. To control the speed of the action, I figured out I can take multiple shots of the same scene to make the speed slower. So for actions like walking in, or looking around, I took 2 shots per each movement, which created smoother and deliberate actions.
However, for scenes like him falling over due to banana peel, I only took one shot, and took fewer shots between to indicate rapid and quick situations.
One of my actions included the mouse grabbing the cheese after finding it. I used the same speed technique and figured it out for this scene as well. However, my professor gave me feedback that I need to animate the mouse's anticipation to grab the cheese in the movement by creating a secondary rhythm and tempo of the actions. For example, instead of having the mouse immediately reach for the cheese, there should be a brief pause of noticing the cheese, leaning its body forward and preparing the action before grabbing it. These small changes and rhythm makes the character more alive, intentional and the audience can understand what the character is thinking before it acts. I tried my best to edit these expectations by stretching certain frames longer and shorter. So there is a rhythm and various timing in my mouse's movement. Even though it was a rudimentary level of work, my first animation accomplished its function.